Install Lidarr Bulk Adder on a Synology NAS with Docker
Let’s face it: if you’re serious about curating your digital music collection with Lidarr, the manual artist entry process can feel like a chore. Adding artists one by one is not only time-consuming but also incredibly tedious, especially when you’re dealing with extensive backlogs or diving into new genres. Imagine painstakingly inputting hundreds of names – there’s got to be a better way!
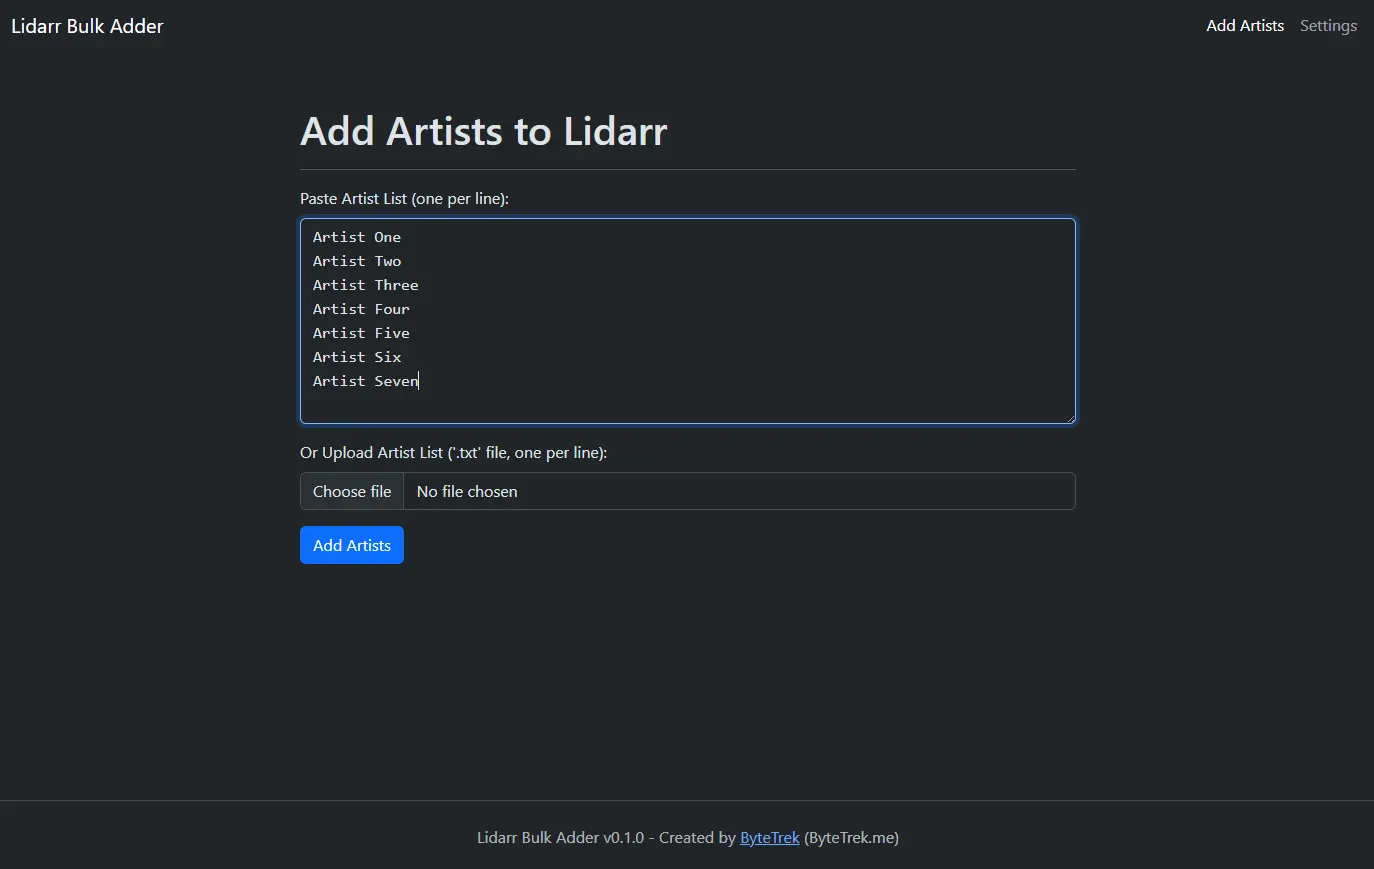
Enter the Lidarr Bulk Adder: your new secret weapon for lightning-fast artist imports. This lightweight web application, designed for seamless Docker deployment, transforms the way you populate your Lidarr library. Say goodbye to repetitive clicking and hello to streamlined efficiency. Simply compile your artist lists – whether sourced from your existing spreadsheets, generated with the help of AI tools like ChatGPT for discovering new music, or exported from other music platforms – and let the Bulk Adder handle the rest. Paste them in or upload a file, and you’re good to go!
This is my first time creating a web application, so please expect that there might be a few bugs along the way. I appreciate your understanding and welcome any feedback!
You can find the Official site here.
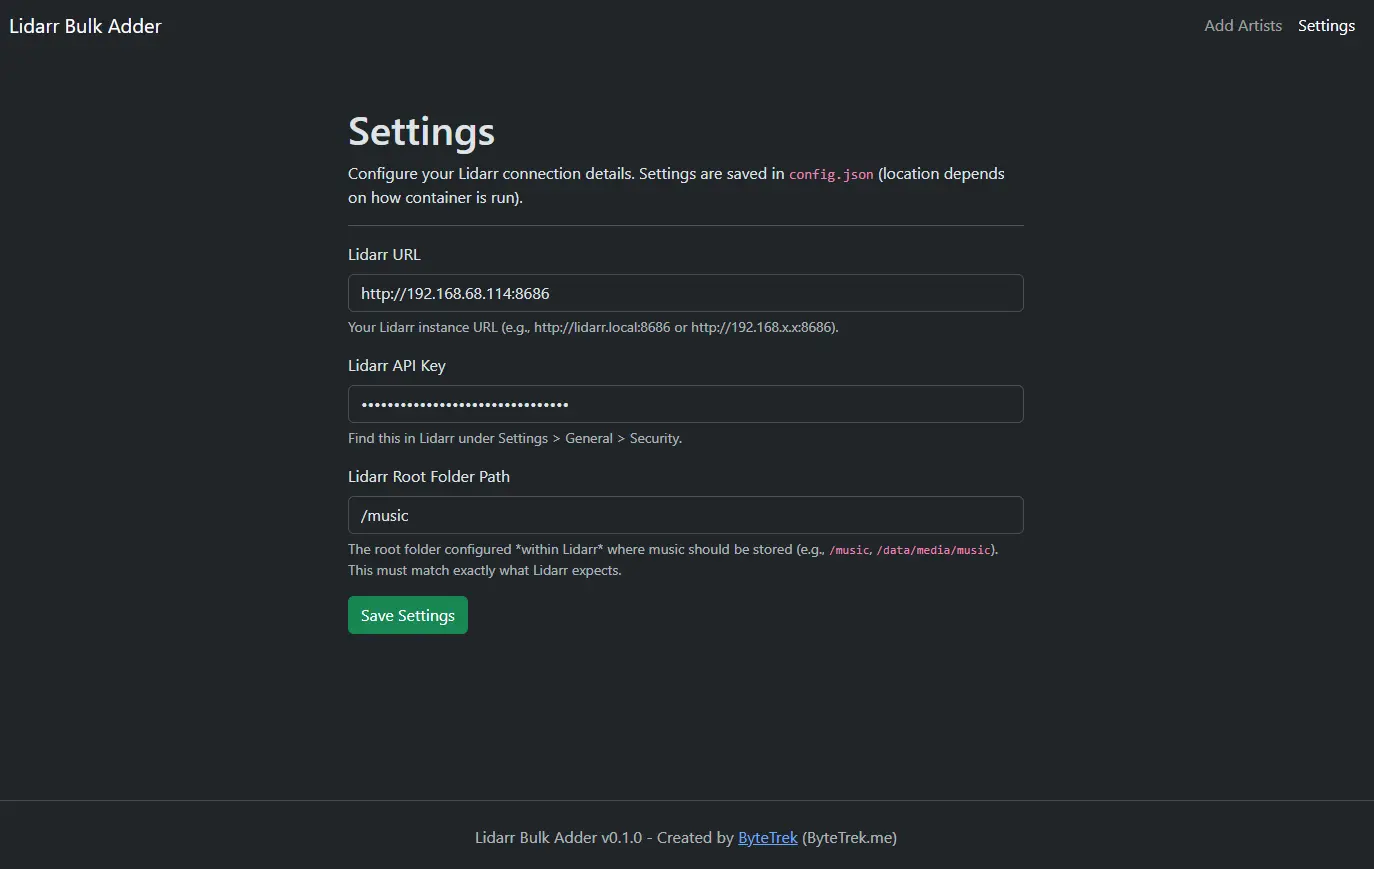
Screenshots/Demo 🖥️
Here are a few screenshots to give you a better sense of how it looks.
View Screenshots
Create Share Folder
Skip this step as no folder required
-
Log in to your Synology NAS
Access your Synology NAS using your web browser and enter the login credentials. -
Open the Main Menu
In the top-left corner, click on the Main Menu (the icon with squares). -
Navigate to File Station
In the Main Menu, locate and click on File Station to open the file management tool. -
Go to the Docker Folder
In the left sidebar of File Station, find your Docker folder or navigate to the location where you store Docker-related files (you may need to create one if it doesn’t exist). -
Create a New Folder
At the top of File Station, click on Create.
Select Create Folder from the dropdown menu.
Name the folderlidarr_bulk_adder. Press OK to create the folder.
Now, you have a Lidarr_bulk_adder folder in the Docker directory, where you can store configuration files or other relevant data for your setup.
Setting up Task Scheduler
- Log in to your Synology NAS.
- Navigate to the Main Menu and open the Control Panel.
- Scroll down and locate Task Scheduler, then click to open it.
-
In the top menu bar, click Create, select Scheduled Task, and choose User-defined Script.
- In the window that appears:
- Enter a task name. This can be anything, such as the name of the app you’re installing. It doesn’t need to be specific. Lidarr_bulk_adder will be fine.
- For User, select root from the dropdown menu.
- Click on the Schedule tab at the top:
- Select Run on the following date and leave the Start time and Repeat options at their default values.
- Next, click the Task Settings tab:
- Ignore the Notification section.
- Under Run command, paste your
docker runcommand. Double-check to ensure all file paths and parameters are correct.
Docker Run Code
1
2
3
4
5
docker run -d \
  --name lidarr-bulk-adder \
  -p 5050:5000 \
  -v lidarr-bulk-adder-config:/app \
  bytetrek/lidarr-bulk-adder:latest
Please double-check your
paths. You can also change the port number if required. Remember to visit the official guide as there may be extra features you can enable. Official Guide
- Click OK to save the task. You’ll be prompted to enter your Synology NAS password—enter it and press Submit.
- Back in the List of tasks, locate the task you just created.
- Select the task, then click Run from the top menu. When prompted to confirm, click OK.
Your task will now execute, setting up your Docker container. This process may take several minutes. You can now open your container by visiting:
yournasipaddress:5050. Lidarr_bulk_adder should now be up and running!
Docker Compose Code
If you’re comfortable with Docker Compose, you can use the following configuration to set up the installation for Lidarr_bulk_adder.
1
2
3
4
5
6
7
8
9
10
11
12
13
14
version: "3.8"

services:
  lidarr-bulk-adder:
    image: bytetrek/lidarr-bulk-adder:latest
    container_name: lidarr-bulk-adder
    ports:
      - "5050:5000"
    volumes:
      - lidarr-bulk-adder-config:/app
    restart: unless-stopped

volumes:
  lidarr-bulk-adder-config:
1
docker-compose up -d
Thanks for reading! 🎉🤘🎶
Thank you for reading! You're awesome! 🙌💫 Keep exploring, there's more to discover. 📚✨
If you enjoy the site, feel free to tip me.