Install syncthing on a Synology NAS with Docker
Keeping files in sync across multiple devices can be a hassle, especially when relying on cloud services with storage limits, privacy concerns, or subscription fees. Syncthing offers a self-hosted, decentralized alternative that keeps your files synchronized securely and automatically.
Why Syncthing?
- Self-Hosted – Your data stays on your devices, without any third-party servers.
- Cross-Platform – Works on Linux, Windows, macOS, Android, and even some NAS devices.
- Real-Time Sync – Changes are synced instantly without manual intervention.
- End-to-End Encryption – Ensures secure transfers between devices.
- No Cloud Dependency – No need for Dropbox, Google Drive, or OneDrive.
You can find the Official site here.
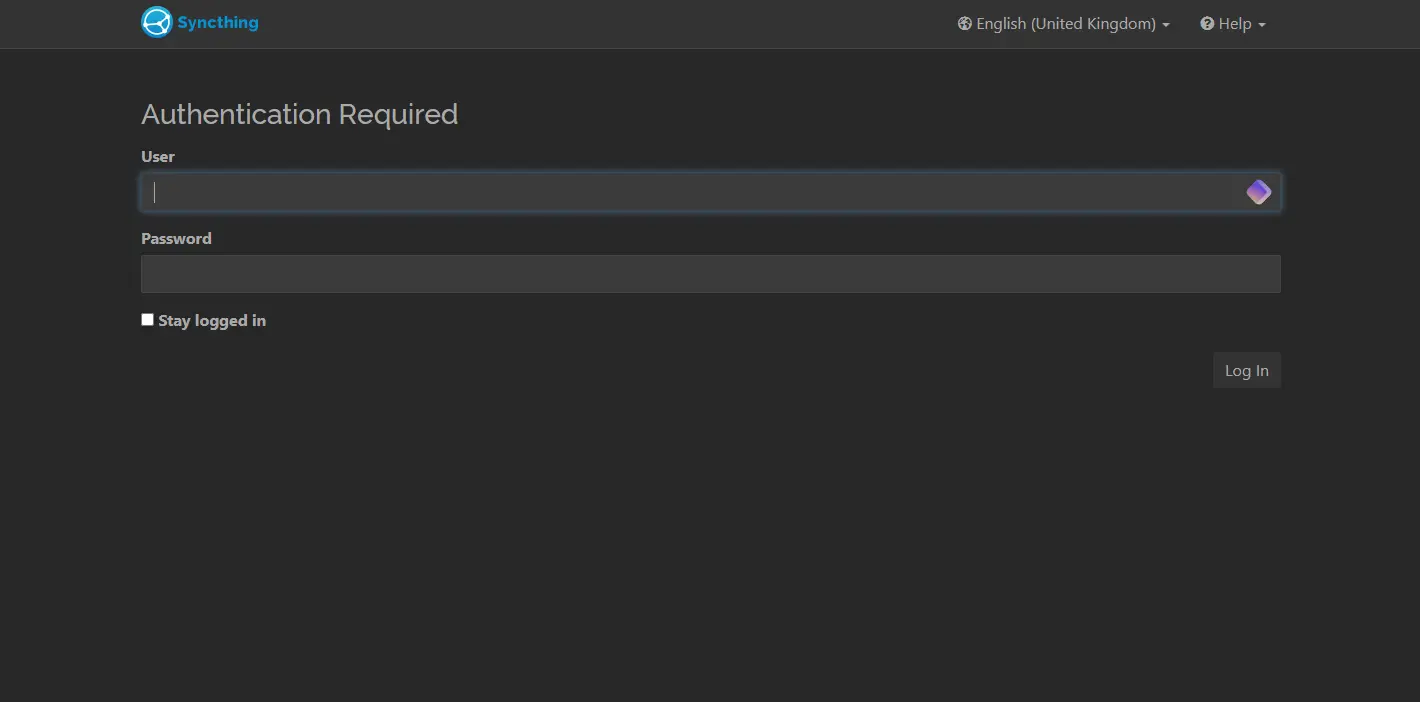
Screenshots/Demo 🖥️
Here are a few screenshots to give you a better sense of how it looks.
View Screenshots

Create Share Folder
-
Log in to your Synology NAS
Access your Synology NAS using your web browser and enter the login credentials. -
Open the Main Menu
In the top-left corner, click on the Main Menu (the icon with squares). -
Navigate to File Station
In the Main Menu, locate and click on File Station to open the file management tool. -
Go to the Docker Folder
In the left sidebar of File Station, find your Docker folder or navigate to the location where you store Docker-related files (you may need to create one if it doesn’t exist). -
Create a New Folder
At the top of File Station, click on Create.
Select Create Folder from the dropdown menu.
Name the foldersyncthing. Press OK to create the folder.
Now, you have a Syncthing folder in the Docker directory, where you can store configuration files or other relevant data for your setup.
Setting up Task Scheduler
- Log in to your Synology NAS.
- Navigate to the Main Menu and open the Control Panel.
- Scroll down and locate Task Scheduler, then click to open it.
-
In the top menu bar, click Create, select Scheduled Task, and choose User-defined Script.
- In the window that appears:
- Enter a task name. This can be anything, such as the name of the app you’re installing. It doesn’t need to be specific. Syncthing will be fine.
- For User, select root from the dropdown menu.
- Click on the Schedule tab at the top:
- Select Run on the following date and leave the Start time and Repeat options at their default values.
- Next, click the Task Settings tab:
- Ignore the Notification section.
- Under Run command, paste your
docker runcommand. Double-check to ensure all file paths and parameters are correct.
Docker Run Code
1
2
3
4
5
6
7
8
9
10
docker run -d \
  --name=syncthing \
  -v /volume1/docker/syncthing:/var/syncthing \
  -v /volume1/data:/data \
  -p 8384:8384 \
  -p 22000:22000/tcp \
  -p 22000:22000/udp \
  -p 21027:21027/udp \
  --restart unless-stopped \
  syncthing/syncthing
Please double-check your
paths. You can also change the port number if required. Remember to visit the official guide as there may be extra features you can enable. Official Guide
- Click OK to save the task. You’ll be prompted to enter your Synology NAS password—enter it and press Submit.
- Back in the List of tasks, locate the task you just created.
- Select the task, then click Run from the top menu. When prompted to confirm, click OK.
Your task will now execute, setting up your Docker container. This process may take several minutes. You can now open your container by visiting:
yournasipaddress:8384. Syncthing should now be up and running!
Docker Compose Code
If you’re comfortable with Docker Compose, you can use the following configuration to set up the installation for Syncthing.
1
2
3
4
5
6
7
8
9
10
11
12
13
14
15
version: "3.8"

services:
  syncthing:
    image: syncthing/syncthing
    container_name: syncthing
    restart: unless-stopped
    volumes:
      - /volume1/docker/syncthing:/var/syncthing
      - /volume1/data:/data
    ports:
      - "8384:8384"
      - "22000:22000/tcp"
      - "22000:22000/udp"
      - "21027:21027/udp"
1
docker-compose up -d
Thanks for reading! 🎉🤘🎶
Need more inspiration? Check out our other articles and level up your knowledge. 🔥📖💡
If you enjoy the site, feel free to tip me.