Install Glance with Portainer
Glance is a lightweight, self-hosted dashboard for monitoring your system stats, weather, RSS feeds, quick links, and more — perfect for a home server overview.
It’s an excellent addition to any Home Assistant, Unraid, or self-hosting setup, providing at-a-glance insights into your environment.
You can find the Official site here.
Screenshots/Demo 🖥️
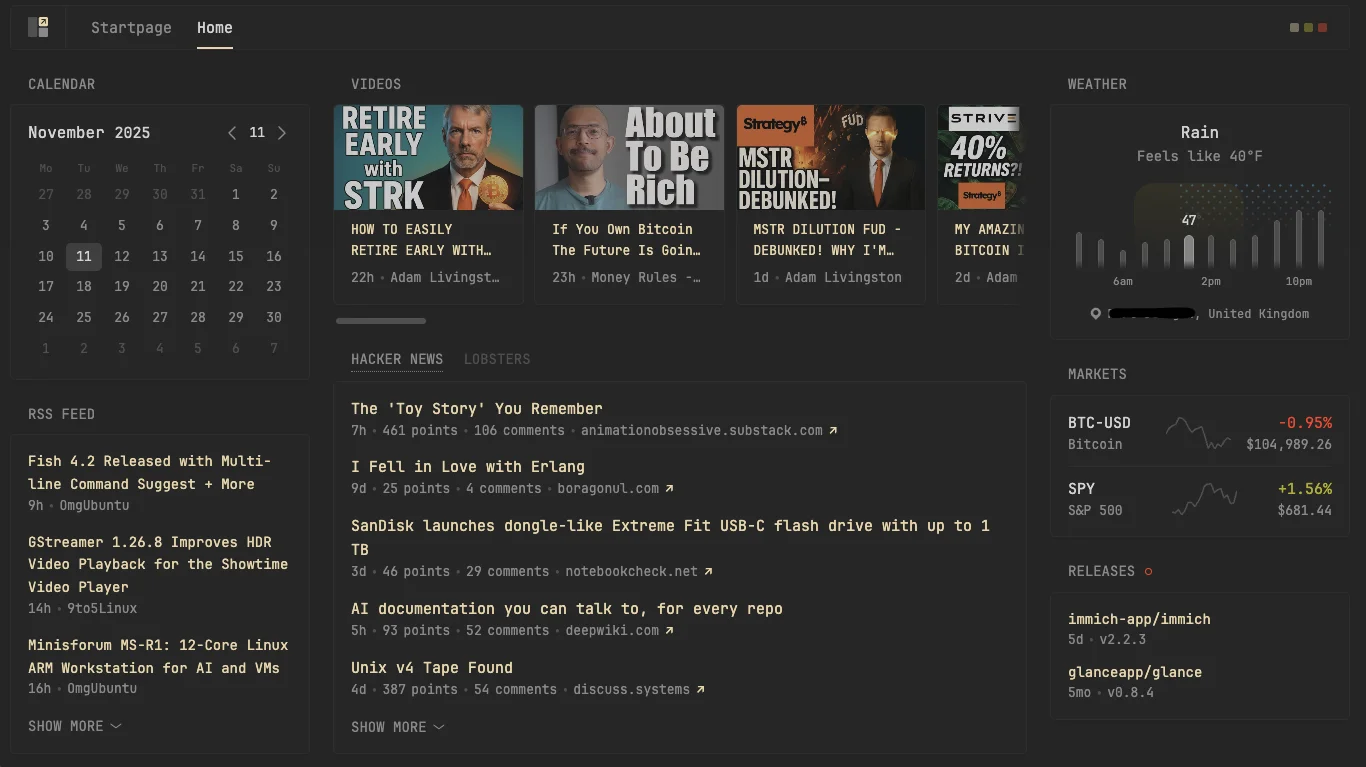
Here are a few screenshots to give you a better sense of how it looks.
View Screenshots
Before we begin
This tutorial requires you to have Portainer installed and running on your system. Portainer provides a simple web interface for managing Docker containers and stacks. If you haven’t set it up yet, follow the official installation guide here: 👉 https://docs.portainer.io/start/install
Once Portainer is ready, you can use this guide to deploy Glance.
Add Stack
- Open your Portainer web interface and log in.
- Click Stacks from the left Menu
- From the top right, click Add stack.
- Enter a stack name. glance
- Copy the code below into the Web editor
1
2
3
4
5
6
7
8
9
10
11
12
13
14
15
16
17
18
19
20
21
22
23
24
25
26
27
28
29
30
31
32
33
34
35
version: "3.8"

services:
  glance:
    image: glanceapp/glance:latest
    container_name: glance
    ports:
      - "8080:8080"
    volumes:
      - glance_data:/app/config
    depends_on:
      - glance-init
    restart: unless-stopped

  glance-init:
    image: alpine:latest
    container_name: glance-init
    command: >
      sh -c "
        mkdir -p /app/config &&
        if [ ! -f /app/config/glance.yml ]; then
          echo '📥 Downloading default Glance config...';
          wget -qO /app/config/glance.yml https://raw.githubusercontent.com/glanceapp/glance/main/docs/glance.yml;
          cp /app/config/glance.yml /app/config/glance-default.yml;
          echo '✅ Default config downloaded and backup created.';
        else
          echo '✅ Config already exists, skipping download.';
        fi
      "
    volumes:
      - glance_data:/app/config
    restart: "no"

volumes:
  glance_data:
Please double-check your
paths. You can also change the port number if required. Remember to visit the official guide as there may be extra features you can enable. Official Guide
This container requires a configuration file to run. When you deploy this stack, it will automatically start a temporary helper container (glance-init) that downloads the default glance.yml file from the official Glance GitHub repository. If this step is skipped — or you don’t provide your own config file — the Glance container will fail to start. Once the configuration file has been successfully downloaded, you can safely remove the glance-init container. It is only needed for the initial setup.
Deploy Stack
- Scroll to the very bottom and click Deploy the stack
- Your stack will now execute, setting up your container. This process may take several minutes. Once you see the sucessful message. You can now open your container by visiting:
yournasipaddress:8080. Glance should now be up and running!
Thanks for reading! 🎉🤘🎶
Thank you for reading! You're awesome! 🙌💫 Keep exploring, there's more to discover. 📚✨
If you enjoy the site, feel free to tip me.